
Rod Angle and the Geometry of Fighting and Landing Big Fish: Part I
Posted by Peter Stitcher on 27th Feb 2017
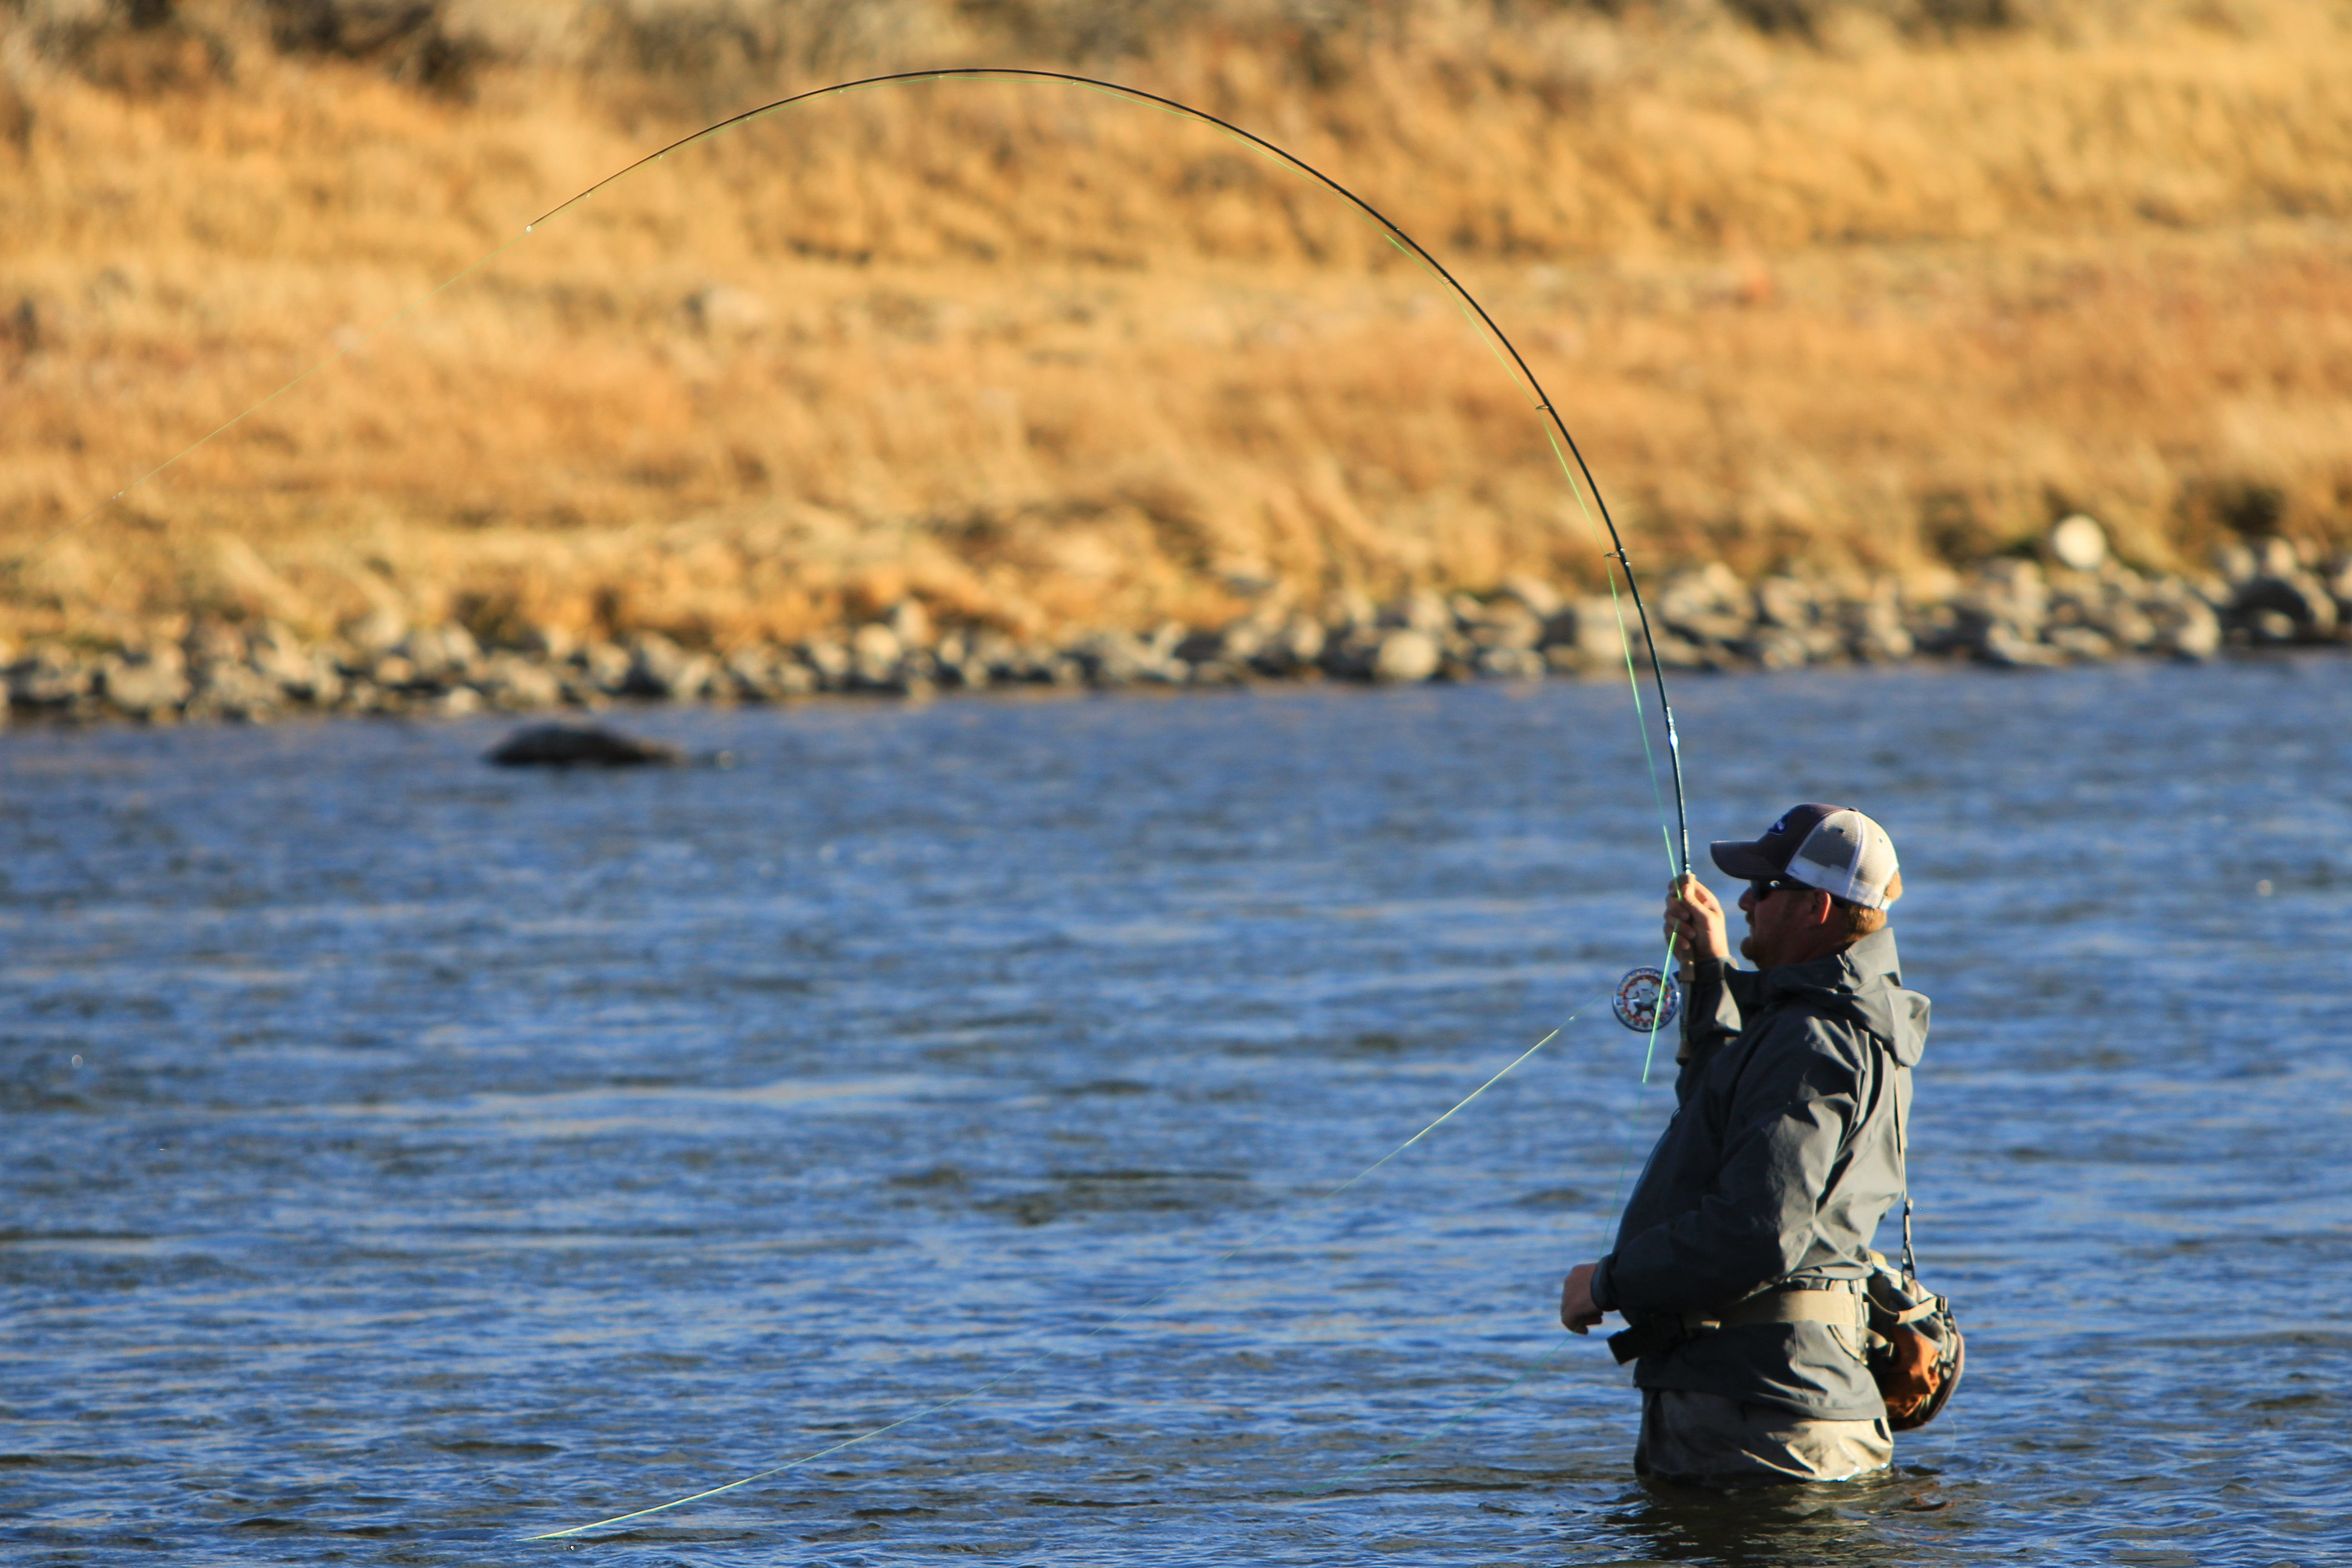
Photo by: Mark Jessop
For many of us, “Keep your rod tip up!” summarized the entirety of our instruction in how to fight and land fish. In my youth, I would snap to Marine-like attention as this familiar call would fire across the river, and redouble the bend of my rod while straining against the fish on the end of the line. While this technique can work well when playing and netting small fish, whenever a larger fish would take my fly I felt woefully outmatched. Like holding onto the tail of a mad bull, I would hang on for a short ride, but it rarely ended well. These large fish would inevitably head out into the fast current, rip line from my reel at will, and more times than not, break off. My last view would be of the trout “giving me the fin” before casually drifting out of sight. Tired of losing fish and flies, I dedicated myself to becoming the puppet master instead of the puppet. With an understanding of the tricks that trout employ to get off the line, how to utilize your rod and reel to their fullest potential, and when to employ different rod angles, you will be able to control every fight and land any fish.
When threatened by a predator, the ingrained response of the trout is to keep their nose down and run for cover. As the sting of our hook bites into the lip of the trout, their neural sirens start to sound, and their overarching instinct is to dive deep. The primary escape routes of the trout are the fast waters and deep waters of the middle of the river or the refuge of a root wad, undercut streambank, or boulder. The natural world isn’t versed in “catch and release” angling, so the fish will expend every ounce of energy they have in their effort to escape. When the trout are unable to reach cover, they will harness the strength of the river to aid them. By positioning their bodies across the current of the river, the trout can utilize the momentum and strength of the water to put additional pressure to bear against your fragile tippet. The final trick of the trout is to jump. As a fish leaps from the water and shakes its head, there will be a corresponding spike in tippet snapping tension. This additional strain against your tippet and leader is created by the increased friction of your fly line being quickly drawn through the water during this final explosive exertion of the trout to escape. With consistent line pressure and constant adjustment of rod angle, the angler will be able to steer the fish away from cover, wear down their resolve, and ultimately bring them into the net.
Most of us under-utilize our fly rods and reels when fighting fish. Similar to trying to drive a nail into wood by gripping a hammer just underneath its head, a job that should be easy becomes tedious and frustrating. A properly-used fly rod and reel should apply a constant, guiding pressure against which the trout will exhaust themselves and ultimately yield to as they lift their nose, roll onto their side, and glide into your net.
Keeping your rod tip up is an essential technique for keeping your line off the water in order for quick hook sets and to guide your line around obstacles, but it is not always the best method for fighting and landing fish. The tip of the fly rod is designed to act like a shock absorber. It bends easily in order to respond to the quick headshakes and darting movements of the fish. When your rod is held at a 90° angle to the water (straight up) it will be the tip of your rod that is almost exclusively engaging with the fish. While smaller fish can be maneuvered with and fought using the tip of the rod and a high rod angle (between 50° - 90° in relation to the surface of the water), it is difficult to increase the pressure on the trout without endangering your line or rod when dealing with a larger fish. The tip of our rod has a limited range of motion and flex, and it is when we solely rely on keeping our tip up that either our line or rod will break.
To apply the greater level of pressure and control needed to fight and land larger fish, we will need to utilize the butt section of our fly rod and the drag system of our reel. In this tag team effort, the thicker butt section allows you to bear down and direct the movements of the fish, while the friction created by the drag system in your reel applies a consistent, steady energy-sapping pressure. In order to engage the butt section of our rods, we need to reduce the angle at which we hold the rod in relation to the water. Reducing our rod angle to 45° or less will take the pressure off of our line and the tip of the rod, and allow us to utilize the full power of our rod. The closer that we hold our rod to the 90° angle, the greater the friction and pressure we create between the fly line as it runs through the eyes and guides of our rod. By lowering the angle of our rod we reduce this rigid pressure and allow the trout to engage with our reel. At this angle we are fully utilizing all of the functions of our fly rod: the soft reactive tip of our rod, the steady strong pressure of the butt section, and the stamina-draining pull of our reel.
While we have been able to break the surface of the Geometry of Fighting & Landing Big Fish, we will still have to go a little deeper in order to make you truly lethal on the water. Join us next month for Part II when we will discuss adding “side pressure” to our low rod angles, and how to use the force of the current to tire and land fish.